February 27, 2013
Haven't posted in quite a while, so now it's time to catch up. Basically, I finished drilling and clecoing the front of the fuselage, and disassembled it. I'm in the process of deburring, reassembling, and riveting it together.
I finished the cabin floor, but then developed back trouble, and haven't been out in the hangar much the last month. I have a bunch of pictures to catch up on posting, though.
I replaced the rudder pedal bearing on the pilot's side, because the holes were too close to the edges of the extrusion underneath the floor.

Here is the rear frame upright, on top of the attach bracket for the rear wing channel.

I heard from a number of other builders that is is important to keep the slot for the main wing spar in the center spar open to the correct thickness while positioning the uprights along the center spar. What I did was trim a spare piece of extrusion to the thickness of the tongue on the main wing spar for each end of the center spar. I clamped this in place using bolts in the top and bottom of the spar that went through the uprights.

Trying to put my seat back (no tray table) into its upright and locked position....


The gear channel support. The first one I put in has a few extra holes - important to make sure there is clearance to put the nut on the other side of the gear uprights.


This is a side view - it's warm enough to have the hangar door open.

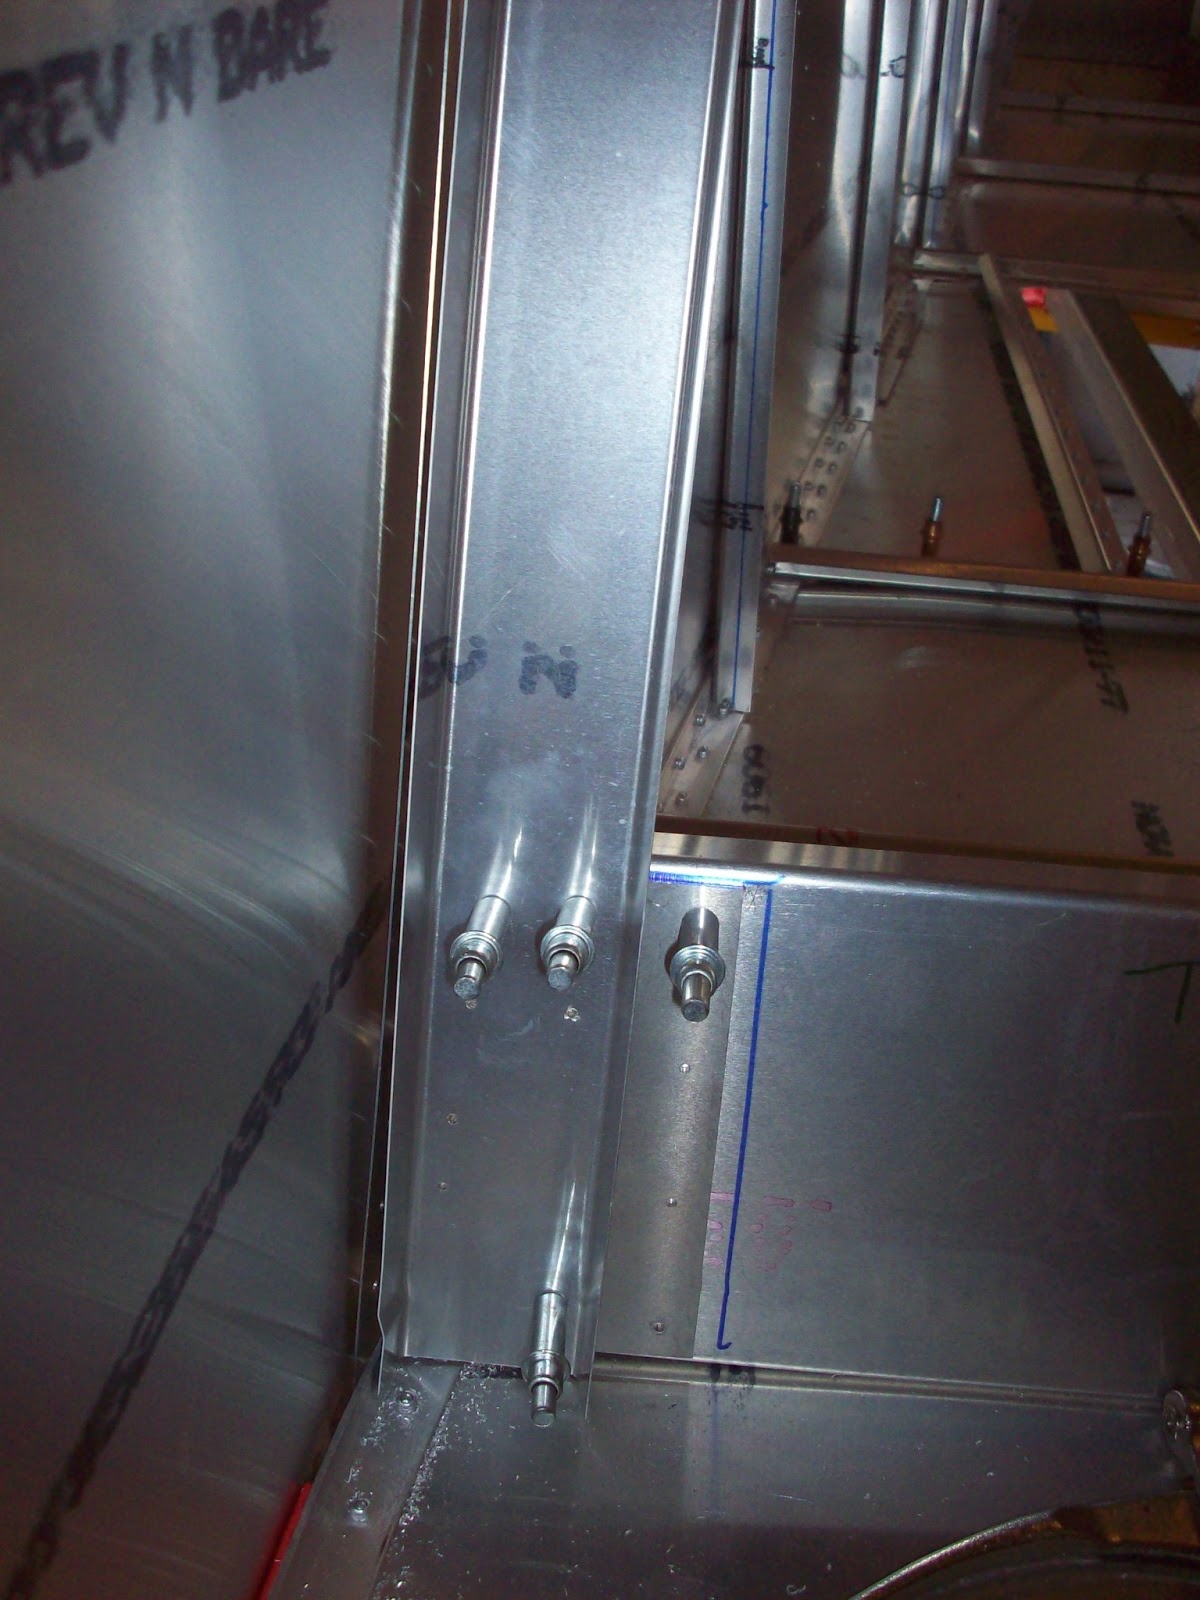
Had to buy extra clecoes to be able to position everything. Don't know if you can see it here, but the pre-drilled holes don't quite line up with the extruded center spar uprights. I'm not the first one to notice this, and so I basically drilled a bunch of extra holes offset about 5/8". This is all covered by the wing, so it won't show. I offset the new holes vertically to make sure there was as much distance as possible between the holes.

Inside of the same place - can see the spar uprights, gear uprights.

View of the virgin instrument panel, can see the rudder pedals. I also have some L angle that I'm using to keep the upper longerons spaced properly.

Front of the cabin on the inside, and the curved section of the fuselage.


Outside of the same spot. Being someone who makes duct tape, I have lots around to use.


Baggage floor and right wing in the background.


Me, my insulated suit, and the cabin floor when it's below zero outside. Got it up to 20 degrees inside using a propane heater.

Some pictures of fellow Zenith / Corvair builder Patrick Hoyt's firewall forward.


Seat bottoms w/ access panel for attaching the wings.


posted by VBecky @ 8:10 PM
0 Comments
![]()

0 Comments:
Post a Comment
Subscribe to Post Comments [Atom]
<< Home